Making Cakes
One of the most important things you can do is find things that your child loves. You should make a list of these “loves”, whether they are items, activities, concepts, or anything in between. Reading through our past blogs and posts, you will get a few glimpses at some of the things that Henley loves. Here’s a quick list of those in case you haven’t had the chance to peruse the whole site just yet:
the color purple
cats, dolphins, and turtles (and bugs)
ballet
chocolate
Right below these favorite “loves” Henley has definitely another handful of things that could serve as backups, and another 100 items that are present in her every day life, just not as prevalently as the top tier. These would include:
gymnastics
swimming
drawing
flute
piano
mac and cheese
black holes
puzzles
the beach
wearing dresses
As you can see, the content of these lists is all over the place, but they both include things that I know, if I bring up in conversation, will bring a smile and more to Henley’s face. I highly recommend you make a list, too. It can be a few items short, or pages and pages long, but any list will help you plan better and even will let you work on the fly better when it comes to being with and teaching your child.
Now we are going to take a step deeper - why do we really need these lists? These lists are going to help you and your child work together, help them through tough spots, and help you relate academics to their happiness. These lists will be the key!
In this post and with every project we choose, we try to include as many subjects as possible. For today, we are going to talk about baking cakes and the chemistry and math behind them. We will also use art, writing, and reading, and we’ll probably even throw in a little geography. We will even include the recipe at the end (while we have made a few of our own tweaks, we owe a huge shout out to King Arthur Flour for this awesome recipe!!). For the sake of this lesson, we are going to use a chocolate cake recipe, but feel free to use the science and relate it to any baking.
Making Cakes
Materials
Pencil, paper
2 x 8 inch cake pans (if you don’t have these, bake a cake in anything you have that is oven safe)
Parchment paper
Measuring cups and measuring spoons
Kitchen scale (optional, but preferred)
Ingredients
206 g (1 3/4c) Flour (all purpose or a good gluten-free mix if you are gluten free - we highly recommend King Arthur Flour’s blend)
2 tsp Baking soda
1 tsp Baking powder
1 tsp Salt
397 g (2 c) Sugar (we like substituting coconut sugar)
85 g (1 c) Cocoa powder
227 g (1 c) Water (boiling water preferred)
99 g (1/2 c) Vegetable oil (use butter if you would like)
227 g (1 c) Buttermilk (make it yourself with 1 cup of milk and 1 tablespoon of vinegar or lemon juice or use plain yogurt)
2 tsp Vanilla
3 Eggs
Chemistry (and mixing)
Set your oven to 325 degrees Fahrenheit because we need a high temperature to create physical and chemical changes.
When ingredients get heated, they undergo different processes as individual ingredients, even though they have been previously mixed or theoretically homogenized.
Solids, like flour and sugar, dissolve.
Liquids, like water, turn into gasses and expand and evaporate.
At temperatures over 300 degrees F, sugar begins to caramelize, which means you end up with a nice golden brown color on your food. That is why we cook most of our foods at a temperature between 300 degrees F and 400 degrees F.
Now, line your cake pans with parchment paper. This provides your cake with an extra layer to avoid getting to dark or burnt on the bottom. It also helps with not sticking since it is treated with silicon.
Grab two mixing bowls. In one, mix all of your dry ingredients together. However, if you are substituting butter for oil, DO NOT add the sugar with the dry ingredients. We are using oil because we want a “lighter” texture to our cake, which we will explain in a second. A lot of people choose to use only butter because of a richer flavor, but we are going to tell you why we want to use oil.
Oil is 100% fat, and butter is usually around 80% fat along with some water and a few other ingredients. This means that while we are introducing a stronger initial flavor to our cake, we are adding that 20% non-fat, which will mix with our flour.
When water mixes with flour, it strengthens the gluten in it. The more you mix a cake or roll out a dough, the stronger and tougher the gluten becomes. We are choosing to avoid this “strength” also known as density, and air, no pun intended, on the lighter side, especially since we are making a chocolate cake, which can be drier. If you insist on using butter, maybe we can compromise and you can substitute 20% of your butter for oil (we are trying to add that fat back in!). For example, if you need 5 tablespoons of butter, use 4, and add a tablespoon of oil.
Now, you have mixed all of your dry ingredients, or homogenized them. We can mix as much as we need here because we don’t mess with the gluten or density of the cake since there is no water yet. We also don’t risk eating pockets of salt in our cake. Mix, mix, mix!
In the second bowl, combine the oil, buttermilk, and water. We are trying to avoid over-mixing at all costs, so make sure this 3-part liquid is also homogenized.
Slowly add this wet mixture to the dry one and beat it together for about 30 seconds until it’s pretty smooth.
Beat in eggs, one at a time, for about another minute, total.
Now you are ready to bake!
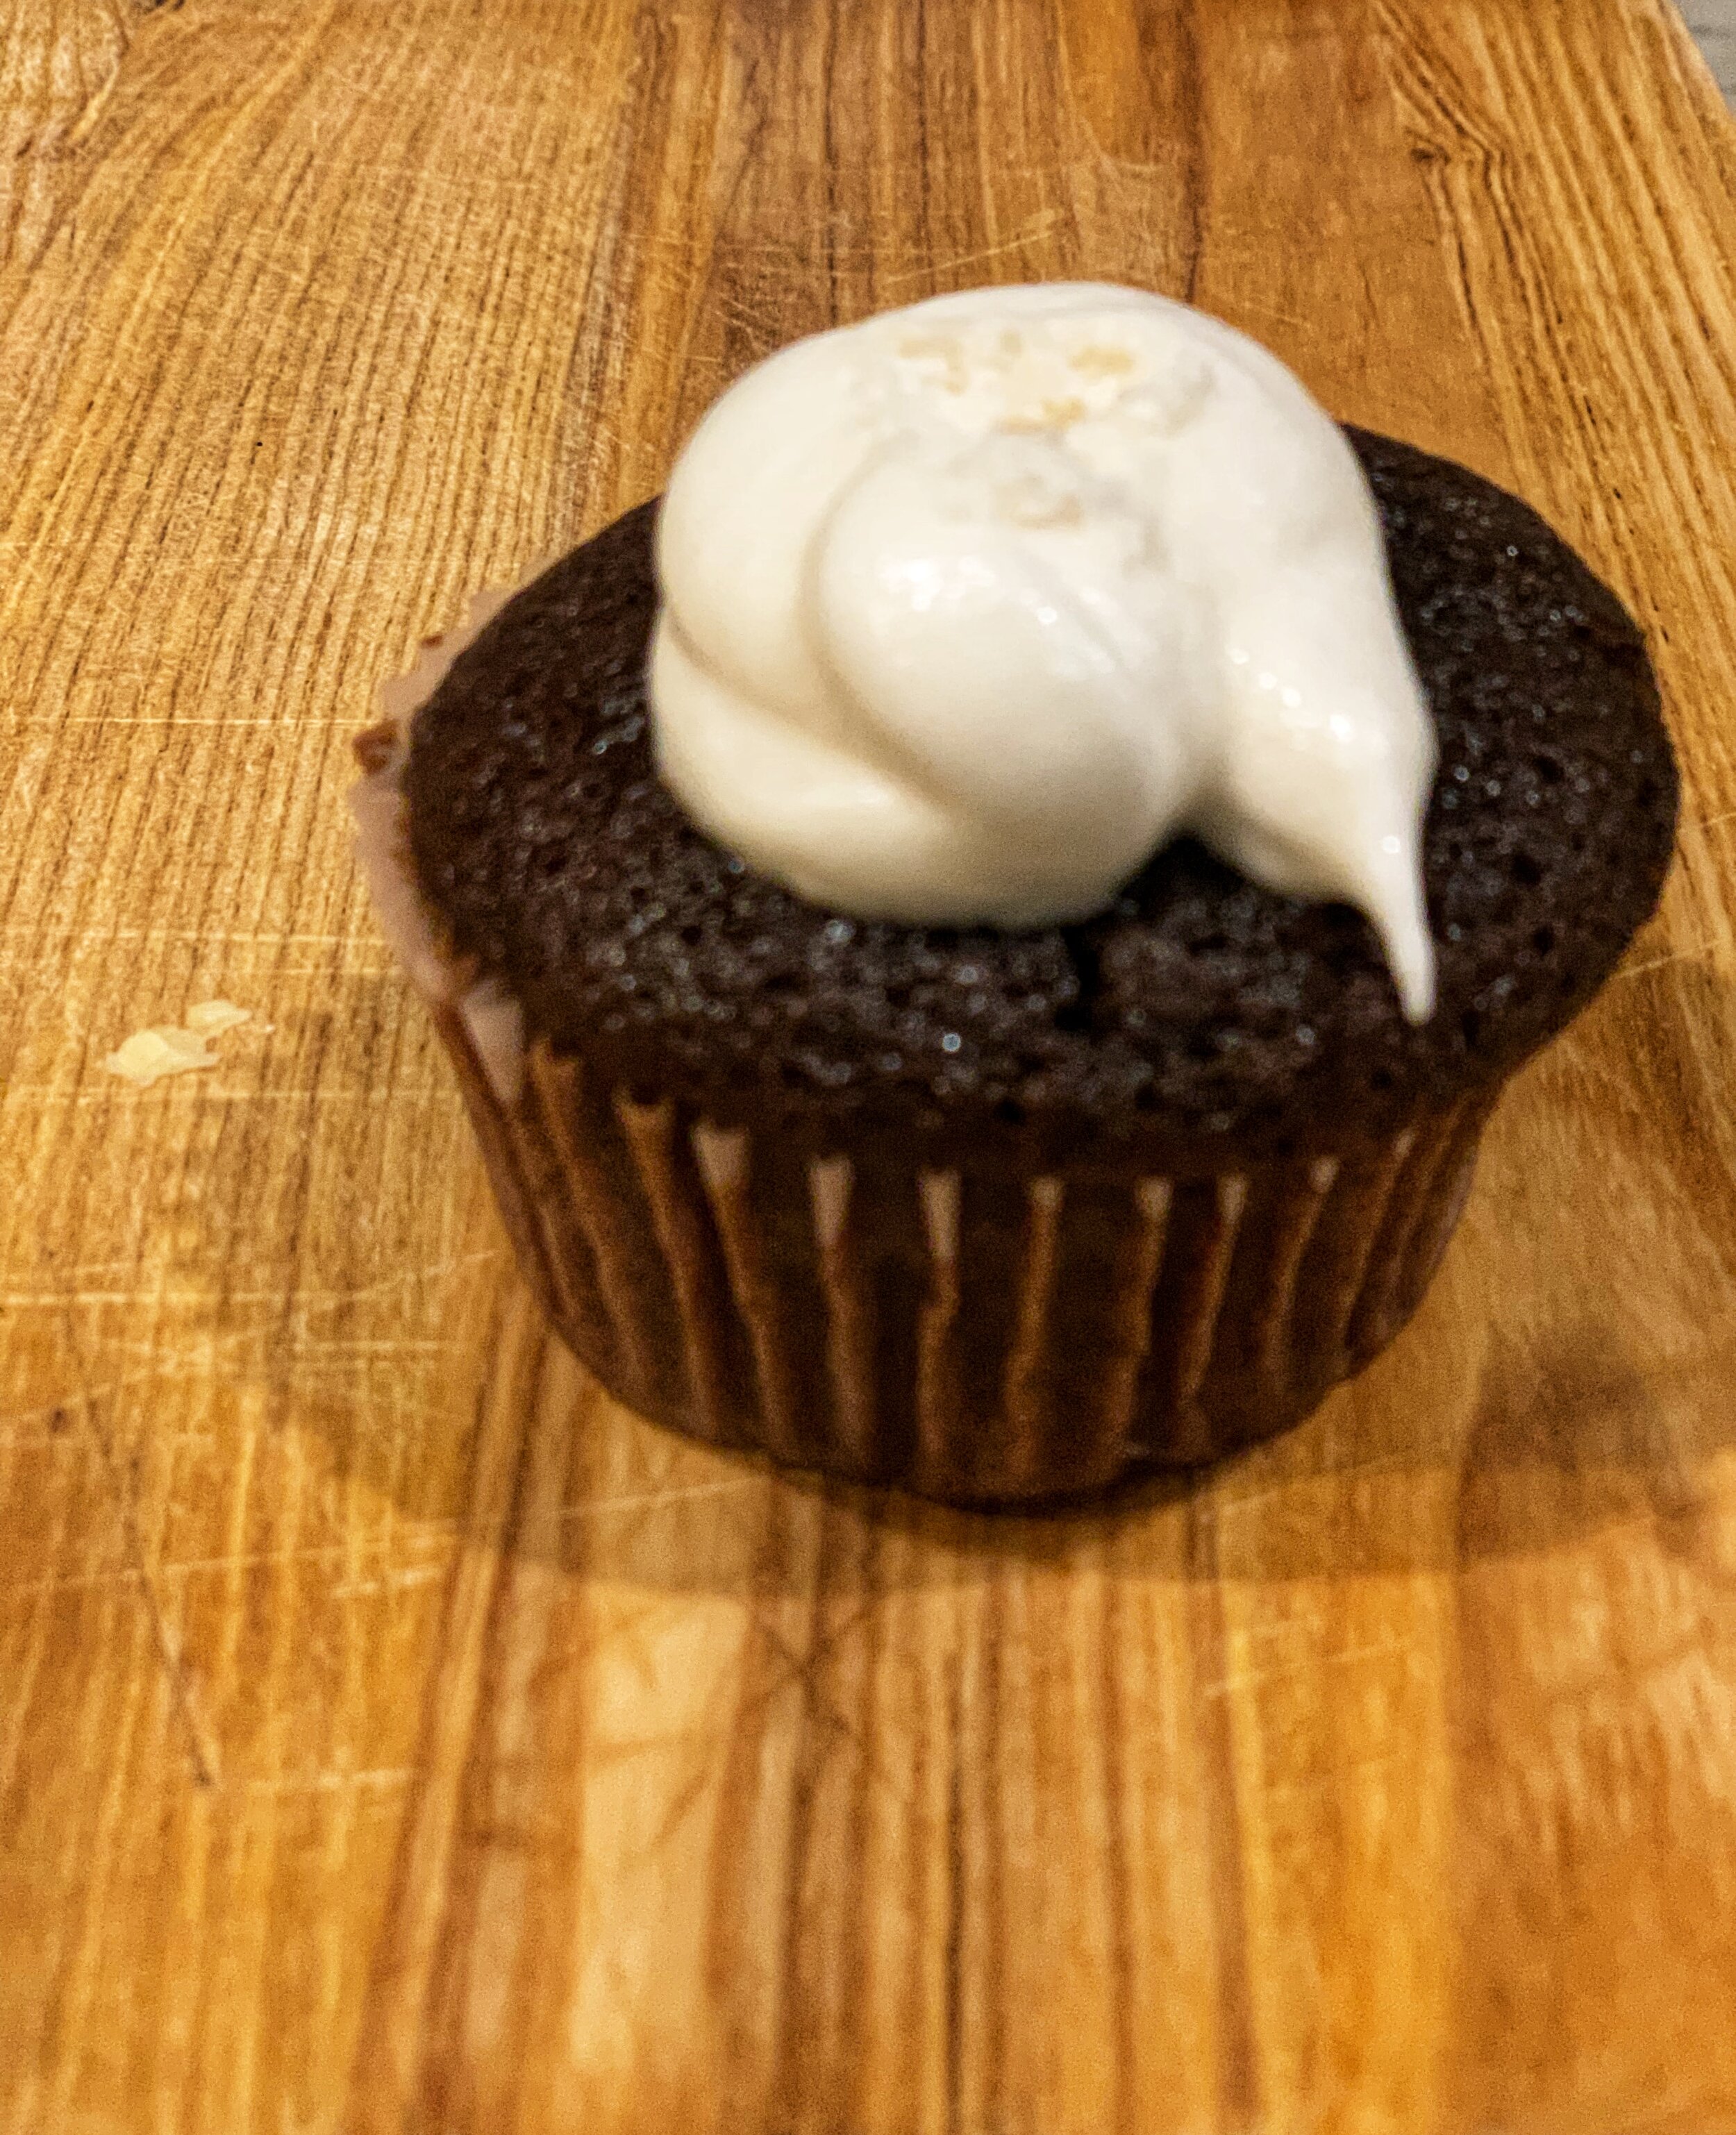
Henley’s cupcake made with leftover batter
WAIT!
We need to talk about some reactions here!
Here is the simple science behind some of our ingredients and the order we mix them, beyond the flour.
Baking soda or sodium bicarbonate (NaHCO3) is a BASE, which means it needs an ACID to activate it. This is a simple acid-base chemical reaction. If you mixed the baking soda with the buttermilk first, you would have an exploding volcano instead of a cake, but mix them in the correct order, and as the temperature rises in the oven, the baking soda will react with the buttermilk and turn into carbon dioxide, CO2, which as a gas (a solid that turns into a gas) and expands. This literally expands your cake and makes it fluffy.
2 NaHCO3 → Na2CO3 + H2O + CO2 - see the carbon dioxide there?
Baking powder is just baking soda with a few other ingredients like cream of tartar, which itself is an acid. However, because there is less sodium bicarbonate, the effect that it has is less. However again, it can be double acting, which means that it acts first by reacting in water, thanks to the cream of tartar, and it acts AGAIN when it gets heated.
You can use baking powder without an additional acid since it already contains one within itself, but you MUST use an acid when using baking soda, or else you will have a pretty disgusting cake.
Here are a few more fun facts: the reason we add our eggs in last is because they have lecithin in them, which means they act as a binding agent. They hold the liquids and the fats together with a stable emulsion (the suspension of one liquid around another) so that the water is separated from the fat. So, the sugar dissolves in water, then mixes with the oil, now the sugar water and oil are coated, created air pockets, and an even fluffier cake!
Now, if all of that chemistry is too much for your little ones, you can make it way easier and just describe the science without the science. “When we mix baking soda and sour buttermilk they create a small explosion in the cake - these tiny explosions are all of the little holes you see when the cake is done!”
As for the math portion of cake making, we are a little torn. We prefer a cake that has all of its ingredients weighed out, so using a scale is a great way to teach about different units of measurement, like grams. If you are using measuring cups and spoons, then always choose the smallest tool possible. For 1 3/4 cups of flour, have your little ones use a 1/4 cup measurement and count how many 1/4 cups they need. To make this more difficult, have them use a 1/3 cup.
For art, you can have your child draw what they think the cake will look like or what they want it to look like while the cake is baking. Another option would be to use a piping bag and let them decorate the cake with the picture they previously drew.
Obviously the reading comes in in reading the recipe. If you’re saying that’s crazy for your 2 year old, circle two words you see multiple times on the page (sugar or cup or anything at all, really it’s your choice) and as you’re reading, point at the same word. Have your child try to copy you as you keep reviewing the recipe. You can practice early writing skills by having them circle the multiples, or more advanced writing by having them copy the recipe on their own (we like to keep it fun and use markers or crayons).
Geography is probably the toughest subject to include, but it’s always great to pull out a map or a globe and talk about where the different ingredients originated, or even start talking about the history of chocolate cake! The possibilities are endless, just teach, teach, teach!
Have fun and bake on!